Quite resigned to my fate, I got up. Then, as I do every morning, I turned on my computer and saw a post for this Japanese Cheesecake by Just One Cookbook.

I have been really interested in Japanese cakes recently because they are such light cakes. Also, their cake-making techniques are quite different from what I am used to and it is always fun to try new things.

Note: Before you begin to make this cake, be sure that your butter, cream cheese, cream and eggs are all at room temperature.
In a mixing bowl, I beat the cream cheese to soften it. Into this, I added the sugar and beat the mixture until it turned light and fluffy.


I added half of the egg white mixture into the original mixture, and stirred until the whites were fully incorporated.


Then I transferred the cake onto a wire rack to cool completely before removing it from the Springform pan.


I am definitely getting apricot jam and making this again very soon!
A GIVEAWAY!
The really nice folks at Tovolo would like to share a few of their fantastic products with readers of The Domestic Goddess Wannabe, and as such, I am hosting a giveaway for a Better Batter Tool and a Cupcake Scoop.
Fancy winning one (or all) of these? Here's how to take part!
a Rafflecopter giveaway
a Rafflecopter giveaway
a Rafflecopter giveaway
Giveaway ends on Tuesday, August 5, 2014 at 12:00 a.m. Pacific time. The winner(s) will be selected by random.org and contacted by email. If there is no response after 48 hours, another winner will be selected. Open to residents of Singapore only.
RECIPE
Japanese Cheesecake (Serves 8-10)
Adapted from Just One Cookbook
Ingredients:
For the cake:
400 g (14.1 oz) cream cheese, at room temperature
60 g (6 tablespoons) caster sugar
60 g (4 tablespoons) unsalted butter, cut into ½" (1 cm) slices, at room temperature
6 large egg yolks, beaten, at room temperature
200 ml heavy whipping cream, at room temperature
10 ml (2 teaspoons) lemon juice
1 Tbsp. rum (optional)
80 g (8 tablespoons) plain flour
3 Tbsp. Apricot jam + 1 tsp. water - I omitted this
For the Meringue:
6 egg whites, refrigerated
100g (10 tablespoons) caster sugar
Method:
1. Before you start prepping, remember to keep cream cheese, butter, egg yolks, and heavy cream at room temperature.
2. Lightly grease the bottom and sides of a 9" (23 cm) spring-form pan with cooking spray and line with parchment paper. Wrap the base of the cake pan with aluminum foil (preferably with extra-large heavy duty foil) to prevent seepage. If you use regular size aluminum foil, make sure to seal the two sheets of foil very tightly by folding two edges and make one big foil.
3. Preheat oven to 320°F (160°C). Start boiling water.
4. In the bowl of the electric mixer, beat cream cheese and sugar on medium-high speed until smooth.
5. Add the butter and mix until thoroughly incorporated.
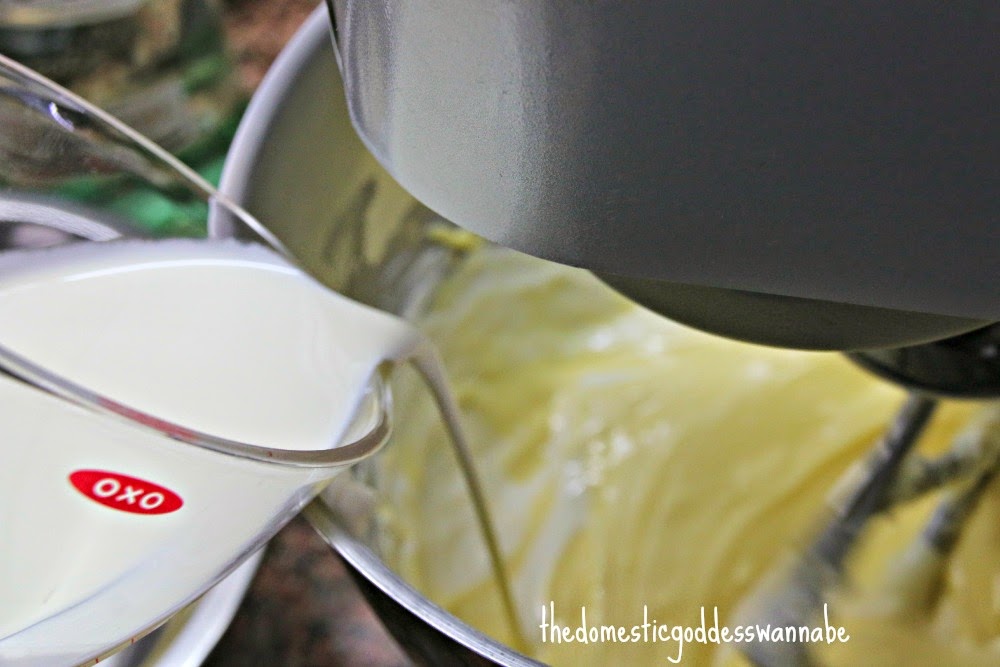
6. Add the egg yolk and heavy cream and mix well.
7. Add lemon juice and rum and mix until the batter is very smooth.
8. Sift the flour twice.
9. Add the flour all at once and mix well.
10. Transfer the batter to a large bowl. Wash the mixer bowl and dry completely. Make sure there is no oil or water in the bowl.
11. To make meringue, beat the egg whites until stiff peaks form. In the bowl of electric mixer, whip the egg whites on medium low speed until opaque and foamy and bubbly. Then add ⅓ of the sugar at a time as the mixer runs. Once all of the sugar has been added, increase the mixer speed to high and whip for approximately 4 minutes, until the meringue has doubled in volume and is thick and glossy.
13. Add ⅓ of the meringue to the batter and mix well first.
14. Then add the rest of the meringue all at once and fold the batter in the cake pan and then drop the pan from 2-3" (5-7 cm) high to the countertop to remove any air bubbles.
15. Place the cake pan in a large roasting pan and pour 1" (2.5 cm) of boiling water in the roasting pan. 16. Place the baking pan in the middle rack of the oven. (The reason why we put hot water in the pan is that steam will help making cake soft and moist and hot water around the cake will gradually cook inside the cake while baking in the oven.)
17. Bake at 320°F (160°C) for 60 minutes or until light golden brown. Then reduce temperature to 300°F (150°C) and bake for another 30 minutes.
18. When a wooden skewer inserted in the center of the cake comes out clean without wet batter, turn off the oven. Let the cake sit in the oven with the door slightly ajar for 15 minutes. Remove from the oven. Take out the cake pan from the roasting pan, and let it cool on a wire rack.
19. In a small bowl, heat apricot jam and water in microwave for 30 seconds and spread the jam on top of the cake. When the cake is completely cool, take it out from the pan and refrigerate for a few hours before serving. Cut the cake with a fishing line or a warm knife (run a knife under hot water and wipe off completely before each cut).
Note: The cake should be consumed within 3 days if it's kept in refrigerator. You can also freeze and keep it up to 2 months. Defrost at room temperature while covered. I've been twiddling my thumbs, waiting and waiting for August to arrive because for this entire month, I shall be hosting the Little Thumbs Up event organised by Zoe from Baking for Kids and Doreen of my little favourite DIY.
I've been twiddling my thumbs, waiting and waiting for August to arrive because for this entire month, I shall be hosting the Little Thumbs Up event organised by Zoe from Baking for Kids and Doreen of my little favourite DIY.
I have chosen Flour as the theme ingredient for this month.

As such, we will be limiting the theme to mainly Wheat Flour, namely,
1. All-Purpose (also known as Plain) Flour
2. Bread Flour
3. Cake Flour
4. Self-raising Flour
5. Pastry Flour
6. Wholemeal Flour
7. Hong Kong (also known as Waterlily) Flour
8. Superlite Flour
9. Top Flour
You must use one of these flours in its raw form in your recipe and you must use at least 1 tablespoon or 10g of one (or more) of these flours in your cooking.

To join the linky party, simply cook or bake any recipe using one (or more) of the flours from the list above. It can be your own original recipes, or a recipe from a cookbook, magazine or a website. You can submit as many posts as you wish to this thumbnail.
Please note, however, that
1. Your submission must be one that is posted in August 2014.
2. You mention the following, This post is linked to the event, Little Thumbs Up organised by Bake for Happy Kids and My Little Favourite DIY, and hosted by Diana from the Domestic Goddess Wannabe at the end of your post.
3. You display the Little Thumbs Up badge in your post.
4. The last day of submission to this event is 31 August 2014.
It would be great if you can visit the blogs from the link and leave a comment.
New widget code:
I'm so tempted to make this Japanese Cheesecake
ReplyDeleteMake it!!!
DeleteI would attempt to make a fluffy victoria sandwich cake with the spatula!
ReplyDeleteHi Diana! Japanese Cheesecakes drive me nuts because they break my heart! This one is quite different from the one that I have baked. I must try it too and see if it would make me cry, LOL!
ReplyDeletePhong Hong, if I can make it it won't be a problem for you!
DeleteLove this! Pinning ;)
ReplyDeleteHi Diana, hope your girl has recovered from her cold. Your Cheesecake is beautifully baked.... I haven't attempted. Hee hee ... i must an auspicious day to bake cheesecake LOL !
ReplyDeleteLOL, then better consult the almanac to find a good date!
DeleteI love Japanese cheesecake and never get enough of it!
ReplyDeleteme too! me too!
DeleteHi Diana,
ReplyDeleteYour Japanese cheese cake looks lovely.
Wish I can have a piece from you...:p
mui
Thank you so much!! I loved it so much I am actually sitting here thinking if making another today.. oh dear..
Delete